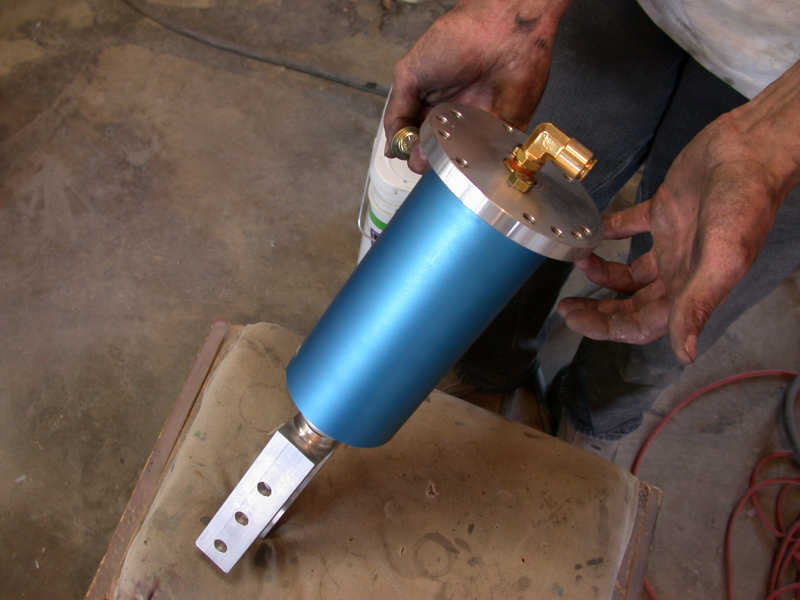
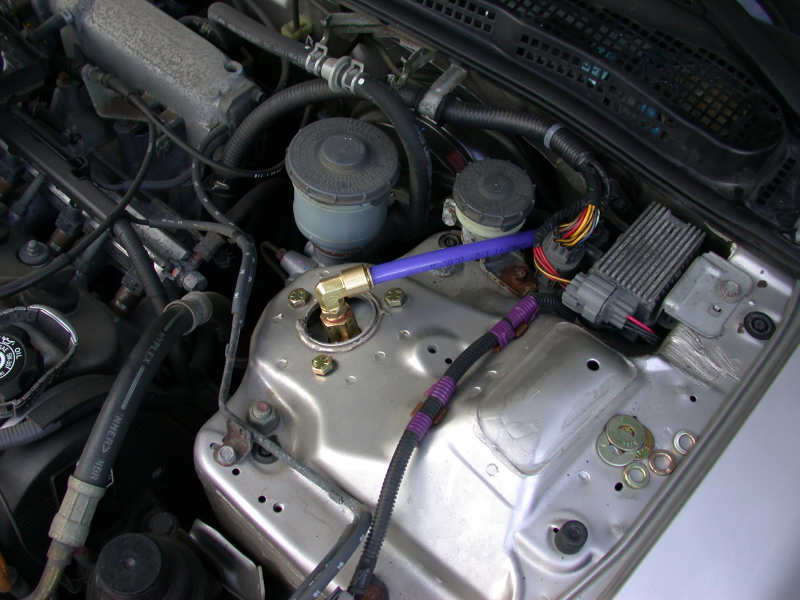
5. The rear EAI cylinder assembles just like the front ones, quick and easy. (DO NOT OVER TIGHTEN BOLTS IN TO BILLET BRACKETS. IT MAY DAMAGE BRACKETS AND TOPS OF CYLINDERS.) Once they are assembled, the air cylinders bolt on just like the factory struts. The bottom mounts give you three mounting positions so that you can fine tune how high or low your car will sit. We decided to utilize the middle hole. 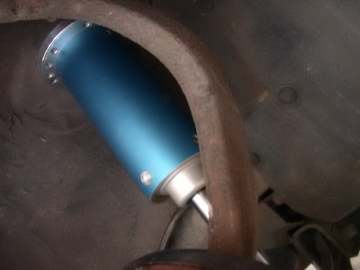 6. After all the cylinders are bolted in place you are ready to bolt the tank and the compressor down in the trunk or under the car. We choose to install everything into the trunk for easy access. Next, if you are running the airline under the car be sure to fasten them tightly to ensure they don't drag on the ground or rub anything. With this particular install, we chose to run the line inside the car under the interior pieces for a clean appearance. 6. After all the cylinders are bolted in place you are ready to bolt the tank and the compressor down in the trunk or under the car. We choose to install everything into the trunk for easy access. Next, if you are running the airline under the car be sure to fasten them tightly to ensure they don't drag on the ground or rub anything. With this particular install, we chose to run the line inside the car under the interior pieces for a clean appearance.
|
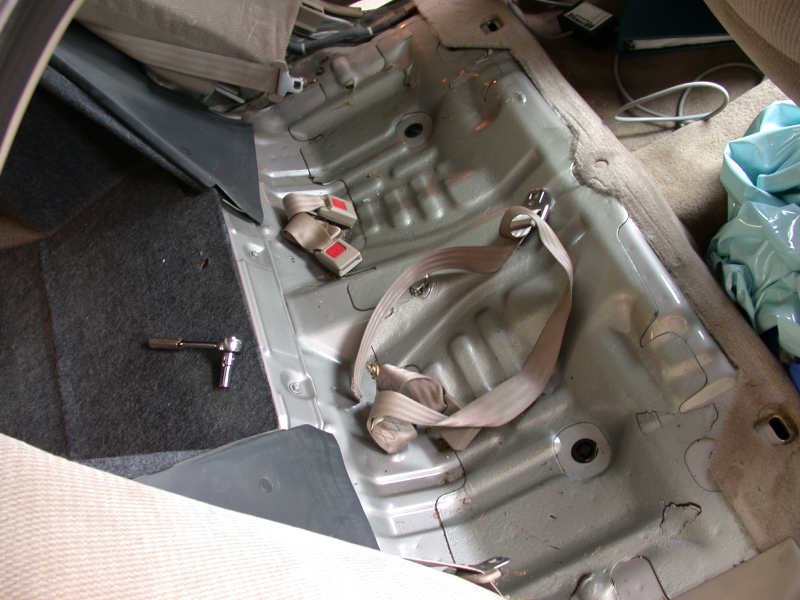
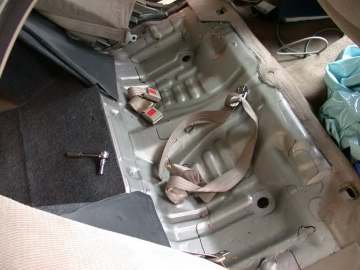 | To run the line into the trunk via the interior we needed to pull the back seat |
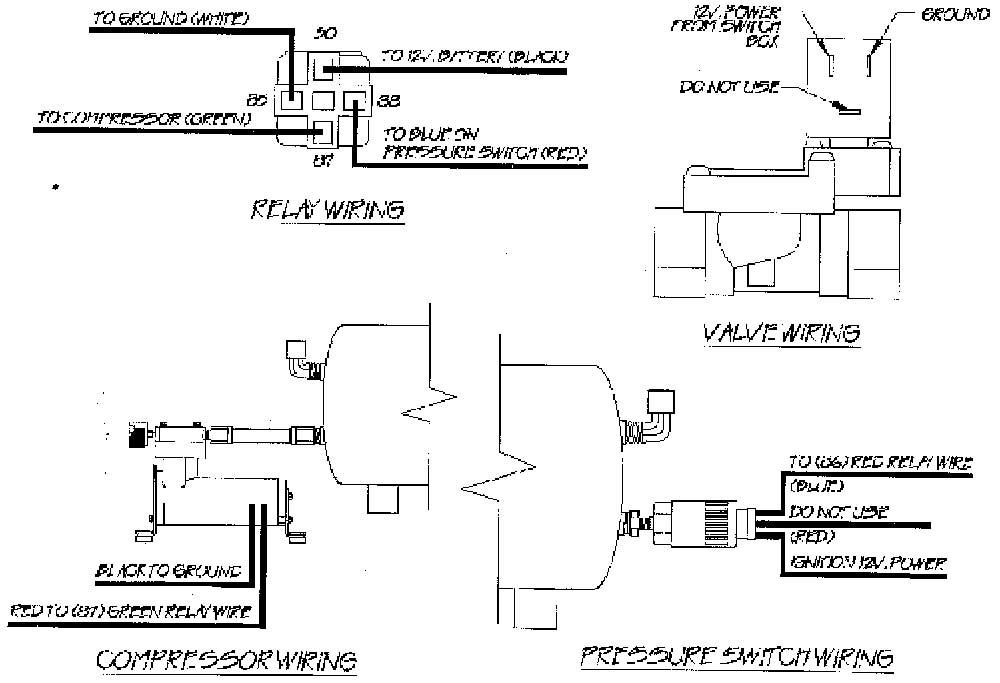
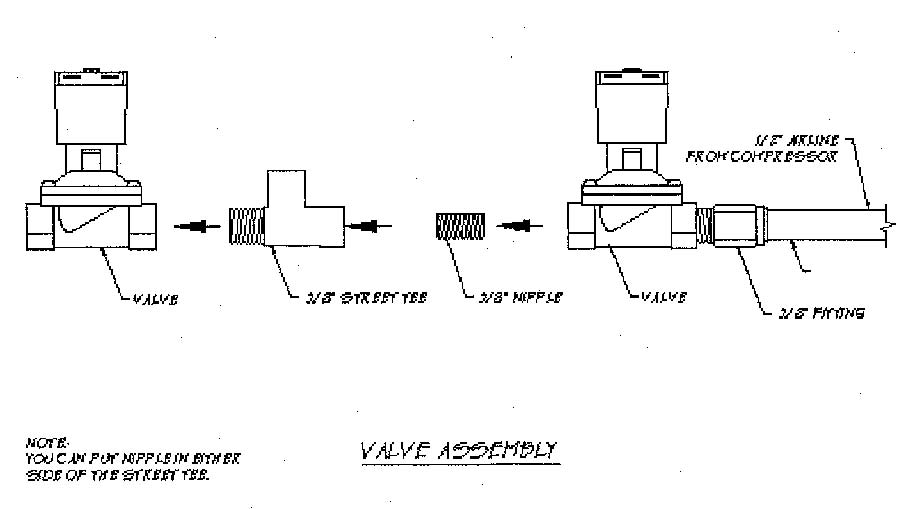
 7. Refer to wiring diagram for the final wiring of the Parker valves, relay and compressors.200 PSI pressure switch wiring:Relay 30- To 12 volt power (to battery) 85- Ground to Chassis 86- Blue on PSI switch 87- Red on compressorPressure Switch Blue to 86 on relay Red (DO NOT USE) Purple to ignition 12 volt powerCompressor Red to 87 on relay Black to Chassis groundWiringF.B.S.S AssemblyValve Assembly 7. Refer to wiring diagram for the final wiring of the Parker valves, relay and compressors.200 PSI pressure switch wiring:Relay 30- To 12 volt power (to battery) 85- Ground to Chassis 86- Blue on PSI switch 87- Red on compressorPressure Switch Blue to 86 on relay Red (DO NOT USE) Purple to ignition 12 volt powerCompressor Red to 87 on relay Black to Chassis groundWiringF.B.S.S AssemblyValve Assembly
|

