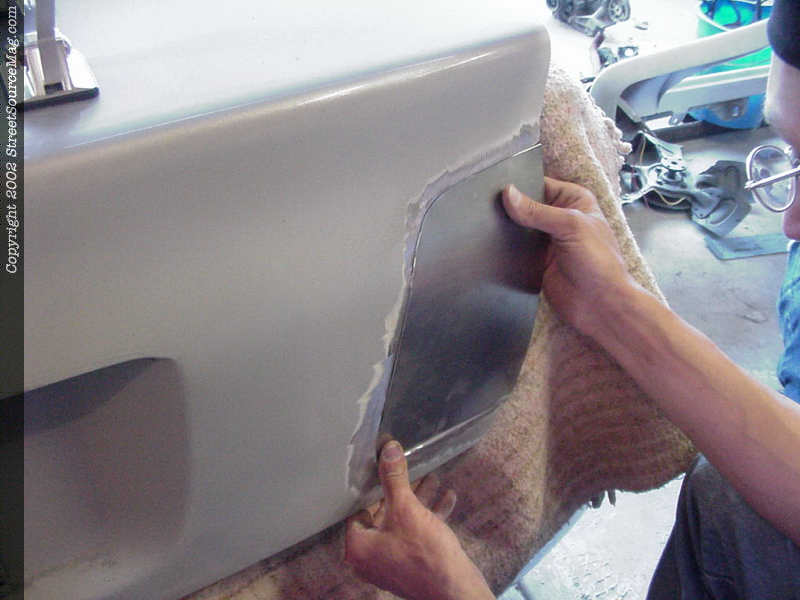
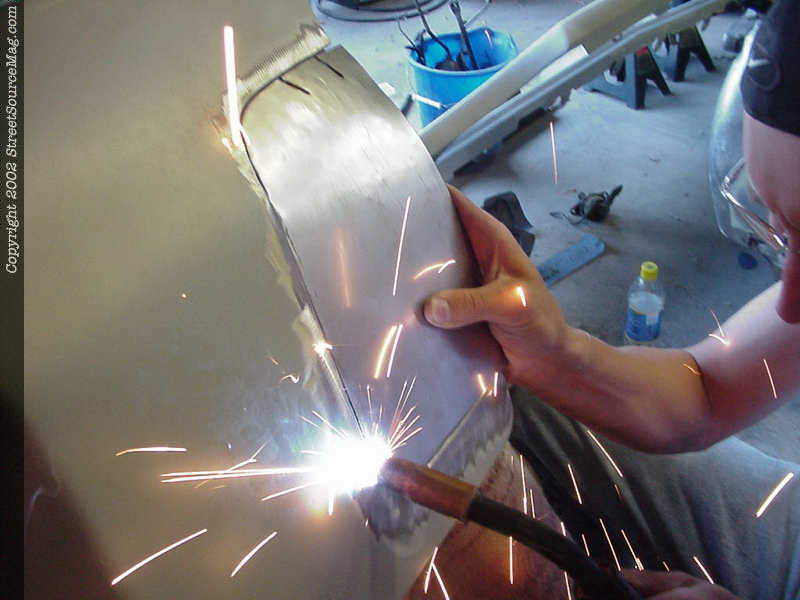
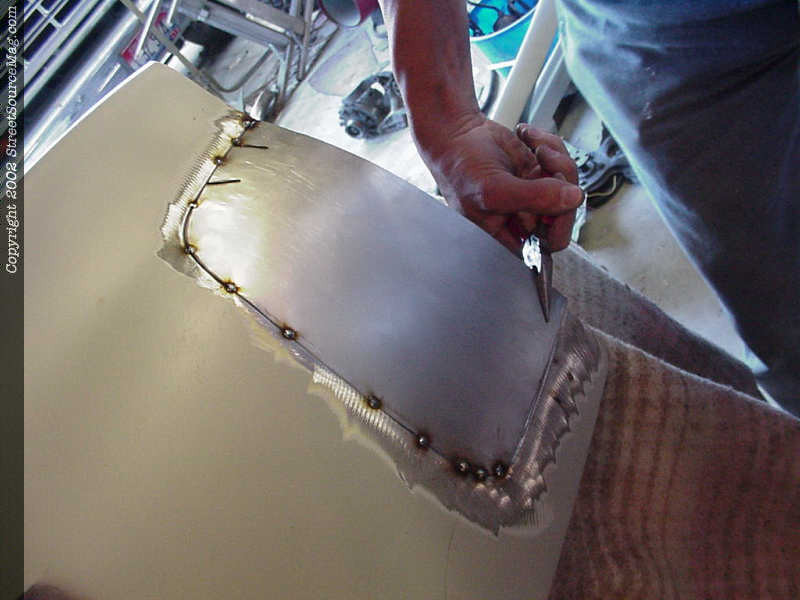
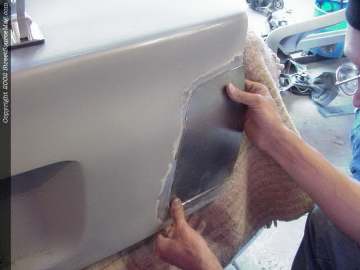
 4. Helping to get the correct curve in the bodyline, John put to inch and a ½ slits to get the upper corner to bend correctly before starting his welds. 4. Helping to get the correct curve in the bodyline, John put to inch and a ½ slits to get the upper corner to bend correctly before starting his welds.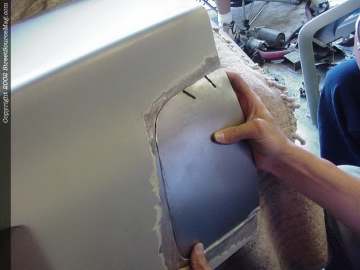 5. Happy with the fillers, it is time to start tacking to sheet metal into place. 5. Happy with the fillers, it is time to start tacking to sheet metal into place. 6. The bottom of the filler didn't quit won't to roll as we liked so it was pulled out with a set of pliers and then tacked into place as liked. 6. The bottom of the filler didn't quit won't to roll as we liked so it was pulled out with a set of pliers and then tacked into place as liked.
|
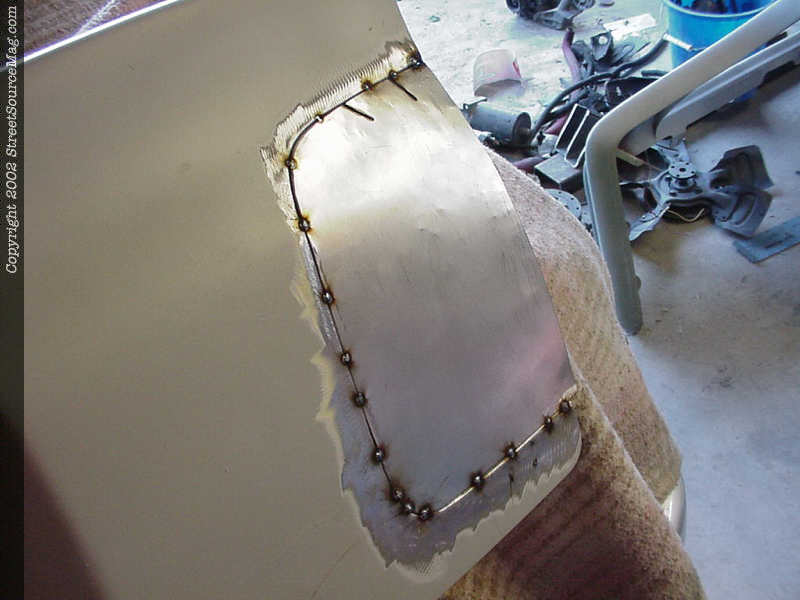
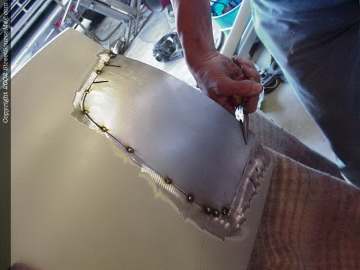 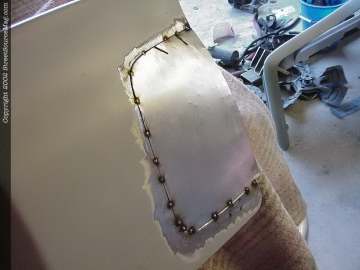 7. With both fillers welded into place it was time to start grinding the welds down smooth. 7. With both fillers welded into place it was time to start grinding the welds down smooth.
|