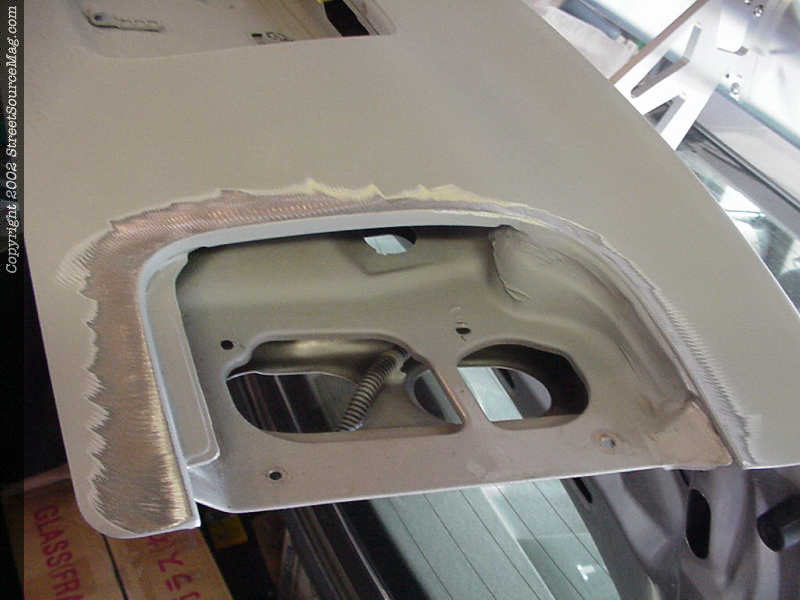
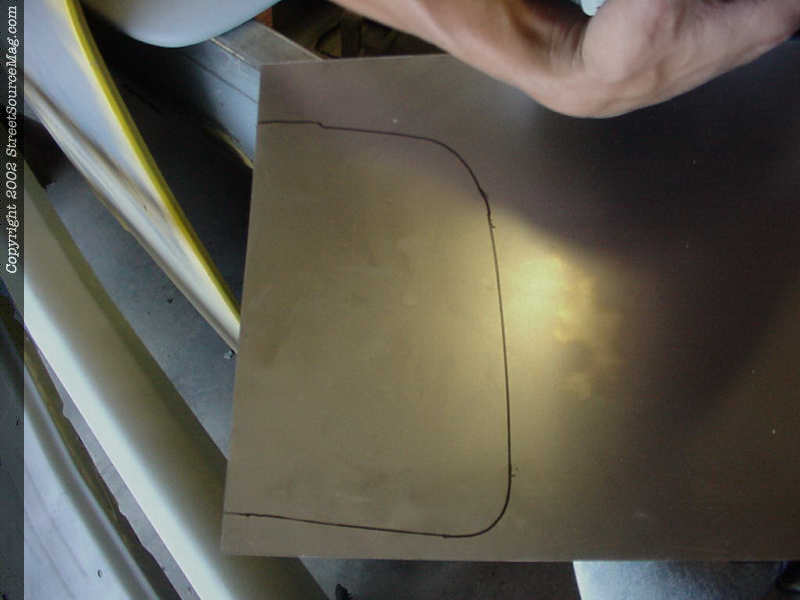
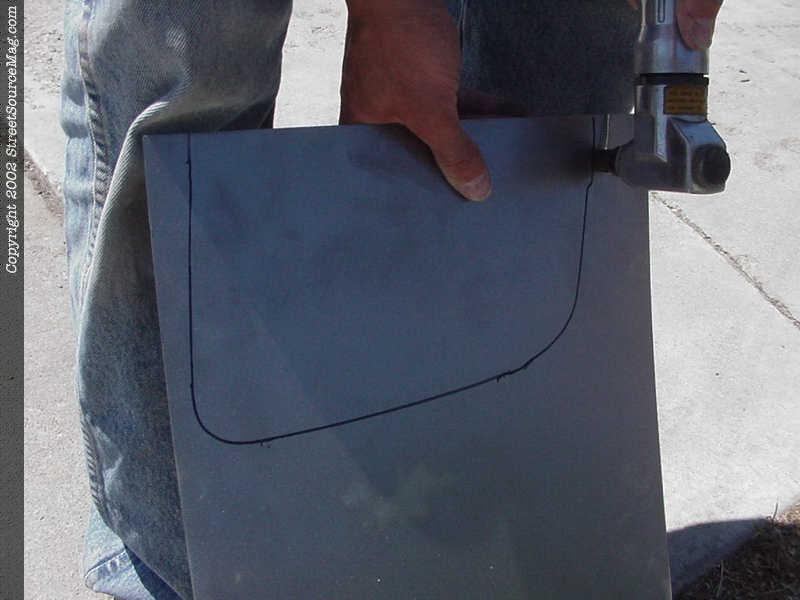
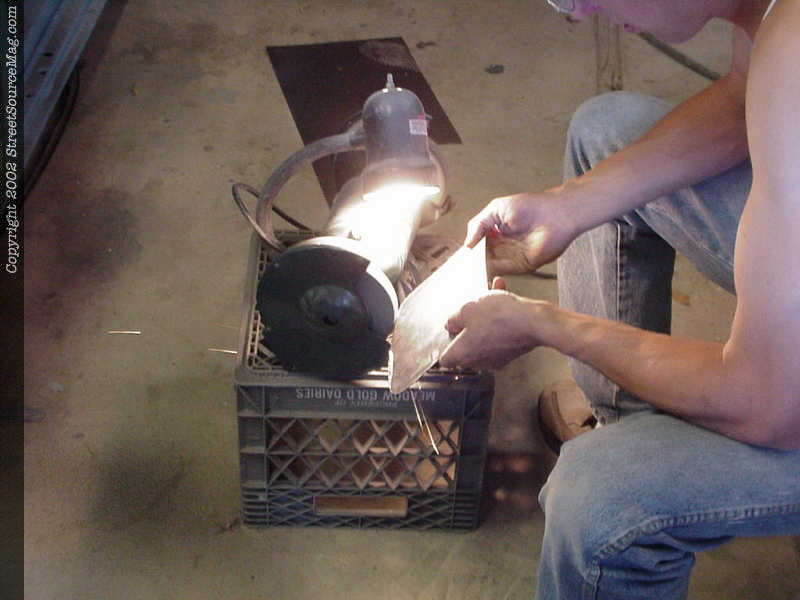
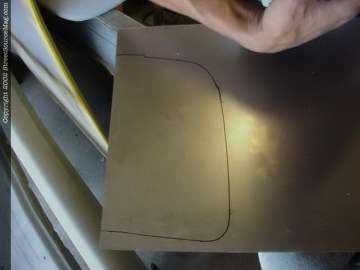
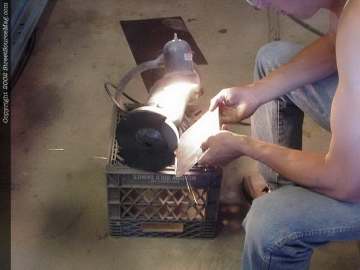
2. After the lights are removed you will then need to grind down the entire surrounding area where the light was mounted to ensure a good weld once you are ready to weld in your taillight filler.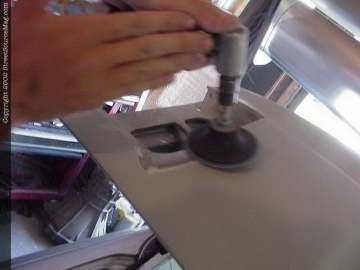 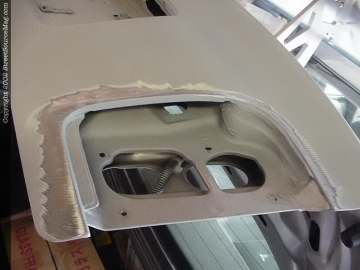 3. Using the taillight itself, we get an outline on sheet metal so that we have a starting point for our fillers. After cut out, John then takes the filler piece to the grinding wheel to get ride of high spots ensuring the tightest fit possible. Since the trunk lid has a nice curve in the bodyline, make sure to get really thin-gauged metal. 3. Using the taillight itself, we get an outline on sheet metal so that we have a starting point for our fillers. After cut out, John then takes the filler piece to the grinding wheel to get ride of high spots ensuring the tightest fit possible. Since the trunk lid has a nice curve in the bodyline, make sure to get really thin-gauged metal.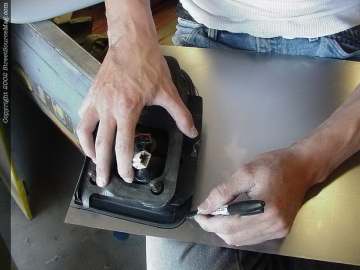
|
|
|