|
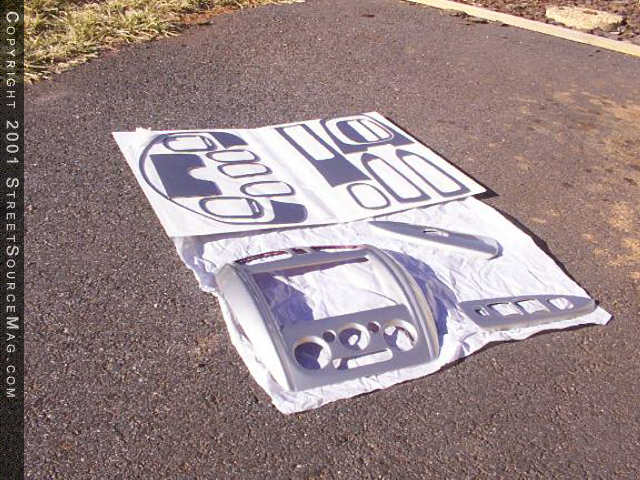
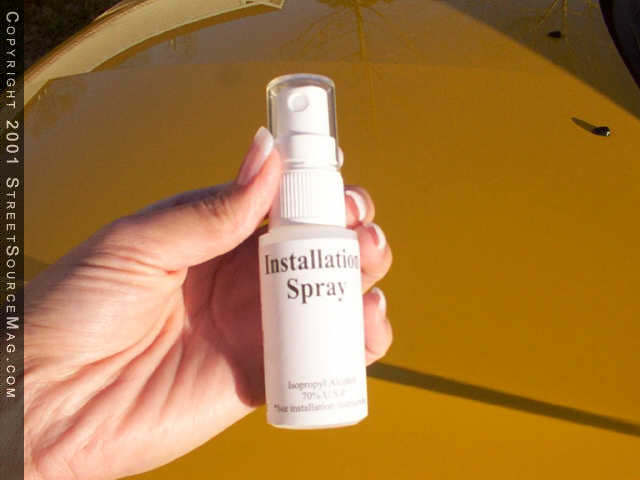
-Dula's Automotive Alterations (window tint) -Discount Dash (13 piece brushed aluminum dash kit) -AT Grills (upper and lower mesh grills)-CATZ (FET-USA) (ZETA-HID system)-APC (M3 Mirrors, carbon fiber hood, etc)-Vitek (Wires and braid)-Trenz (Billet Grills and rear view mirror coming soon)-MA Audio http://www.MAAudio.com-Emo Wheels www.EmoWheels.com-Toyo Tires www.ToyoTires.com-Nitrous Express www.NitrousExpress.com-Injen www.injen.com-Toucan Industries www.ToucanIndustries.com -Optima www.OptimaBatteries.com-Dula's Automotive Alterations -Discount Dash www.DiscountDash.com-AT Grills www.ATGrills.com-CATZ (FET-USA) www.FET-USA.com-APC www.4APC.net-Vitek www.VitekWires.com-Trenz www.Trenz.comOne of the easiest upgrades you can do to the interior of your vehicle is to install a dash kit. These kits come in everything from carbon fiber, aluminum finish and even several wood grain finishes. These kits are easy to install and can be done in your driveway or garage in about an hour. The kit I chose was a 13-piece brushed aluminum look kit. This kit came with 3 molded 3-D pieces as well as several flat pieces. The kit came with full instructions and a bottle of installation spray. This spray is used to spray on the underside of the piece before you install it. It keeps the tape from "tacking" on contact before the piece is set where it needs to be. You need to test fit all the pieces before they are installed to make sure they will fit and to familiarize you self with all the pieces. If a piece needs to be bent to make it fit and you have trouble bending it, you can use a hair dryer to heat the piece, which will allow it to bend easier. Thoroughly clean all surfaces to which the kit will be installed to remove any dirt, grease and especially any vinyl treatment products that will reduce the chance of the piece adhering. When you have the area cleaned and ready to install the piece, remove the backing off the 3M tape on the back of the dash kit piece. Then lightly work the piece from left to right. Then when you are happy with the placement of the piece, firmly go back over the piece to make sure it is securely installed. These pictures should show some of the steps needed to install the dash kit of your choice.Lay out the kit to inspect for damage and to get an idea of what pieces you are working with.
|
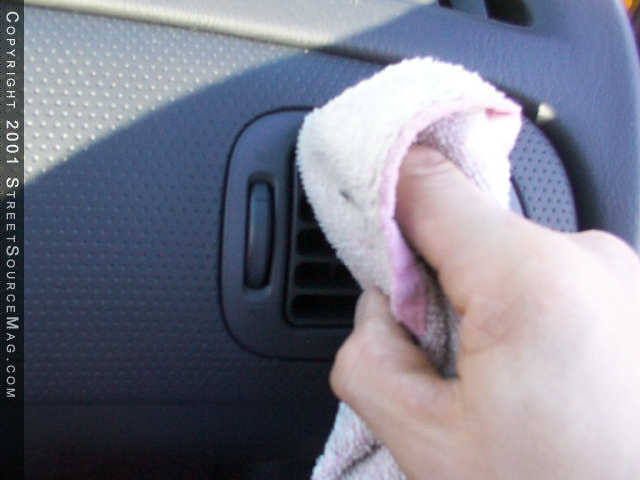
 Spray the "Installation Spray" on the tape side of the dash kit after removing the backing to keep the piece from sticking on contact. This will allow you time to set the piece where it needs to be. Spray the "Installation Spray" on the tape side of the dash kit after removing the backing to keep the piece from sticking on contact. This will allow you time to set the piece where it needs to be.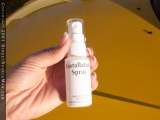 Thoroughly clean the panel the kit will stick to with rubbing alcohol to remove any grease, dirt and most importantly silicon spray such as Armor All. Thoroughly clean the panel the kit will stick to with rubbing alcohol to remove any grease, dirt and most importantly silicon spray such as Armor All.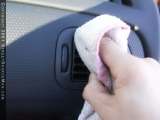
|