Next I had to mock up some pieces for the interior jamb, the under side, and figure out how it would all come together. I made my templates using a big sheet of construction paper that I picked up from Wal-Mart for $.72. It took a lot of cutting, fitting, cutting, fitting, drawing, cutting, fitting, and more cutting to get them to fit right but eventually I had my templates laid out.  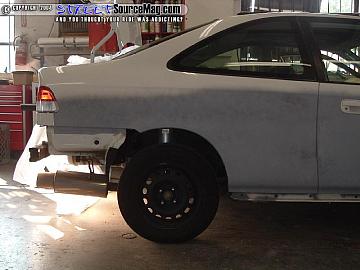
|
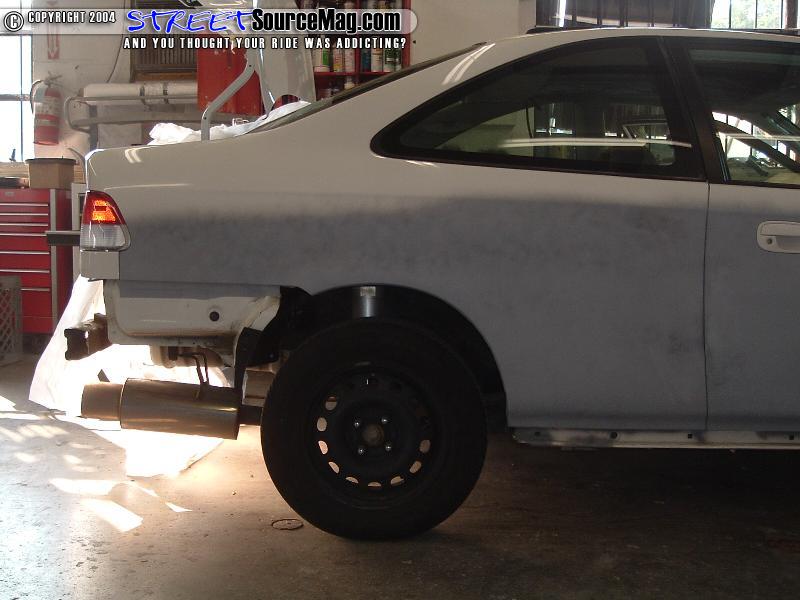
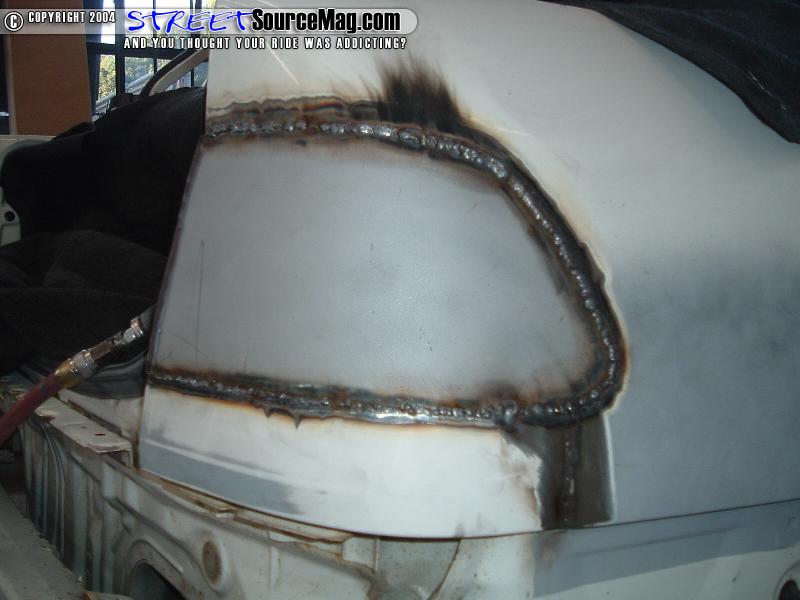
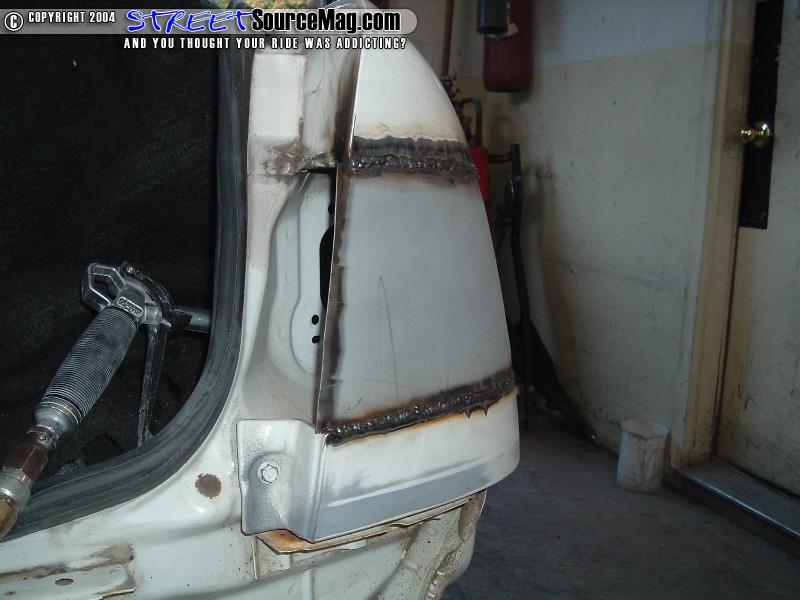
I then sanded all the metal fillers down with some 320 and Weld Sealed all of them until I was ready to weld them in so that they didn’t get surface rust on them while they sat. Next I popped my trunk and removed both of the tail lights which were held in by 4 10mm bolts on each side. The lights were then removed and I fitted my fillers. The fillers fit pretty good they only needed some adjustments. We started out by welding in the lower filler plate. Once that was welded in we moved on to the actual tail light filler and molded that to the quarter. 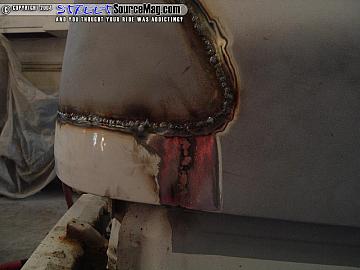  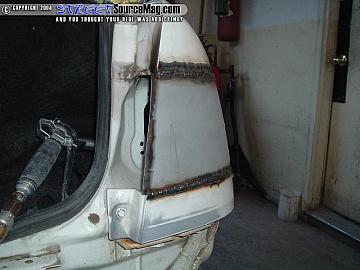
|