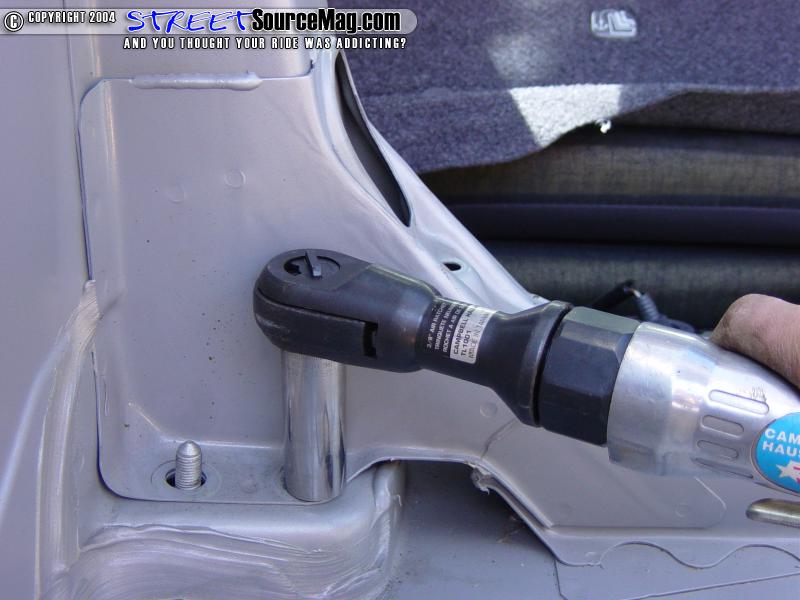
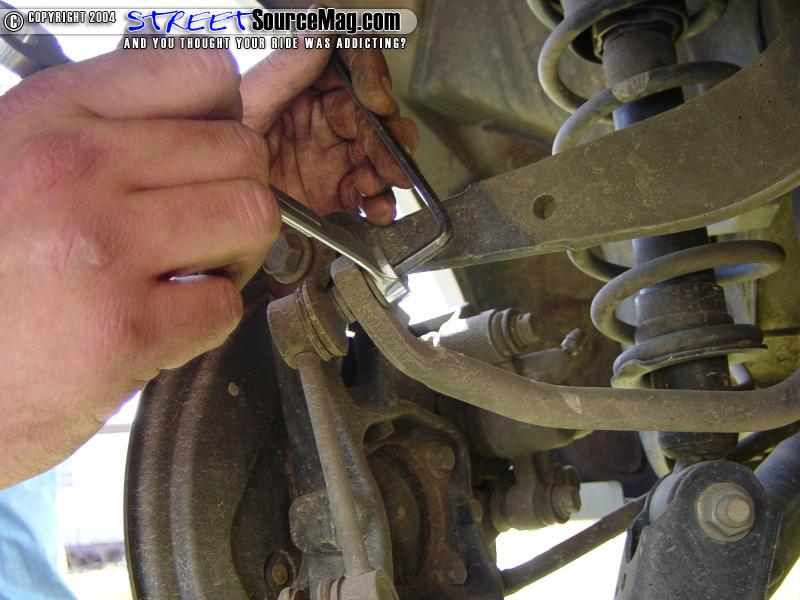
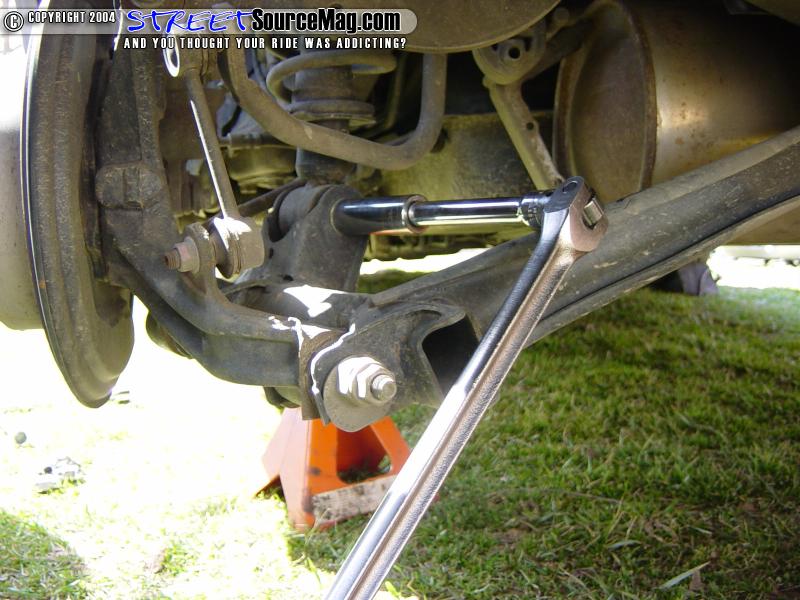
Once the interior pieces are out, remove the bolts that hold the top of the shock in place.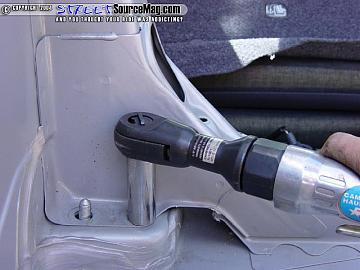 Remove the rear sway bar end links the same way you did the front ones. Remove the rear sway bar end links the same way you did the front ones.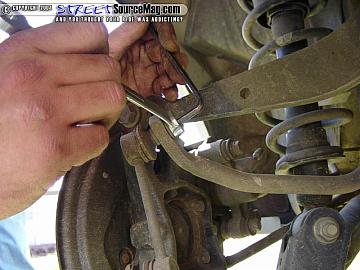 Also remove the lower shock bolt. Also remove the lower shock bolt. You also need to remove one end of the upper arm as well. Once the shock/spring is out, it’s time to remove the top mount. This is the point where a spring compressor would come in handy, but like I mentioned before, if you don’t have access to one, there are ways around it. You also need to remove one end of the upper arm as well. Once the shock/spring is out, it’s time to remove the top mount. This is the point where a spring compressor would come in handy, but like I mentioned before, if you don’t have access to one, there are ways around it.
|
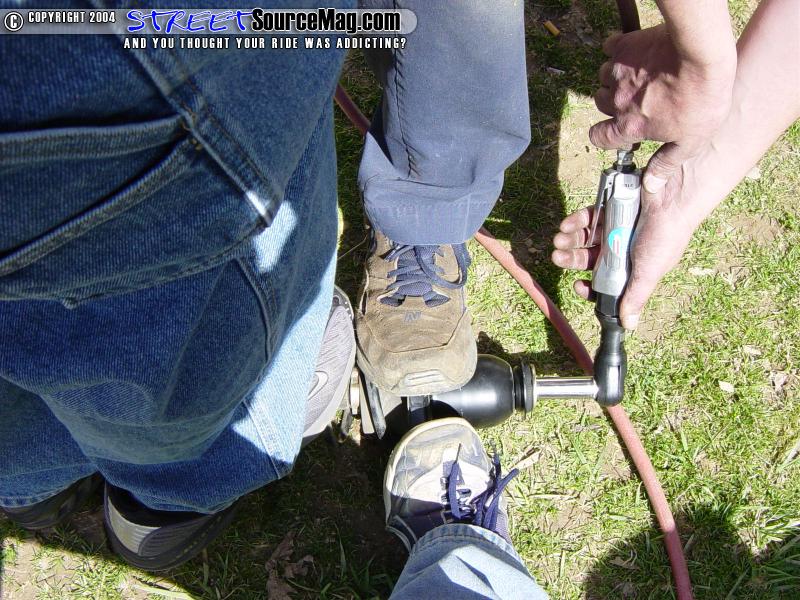
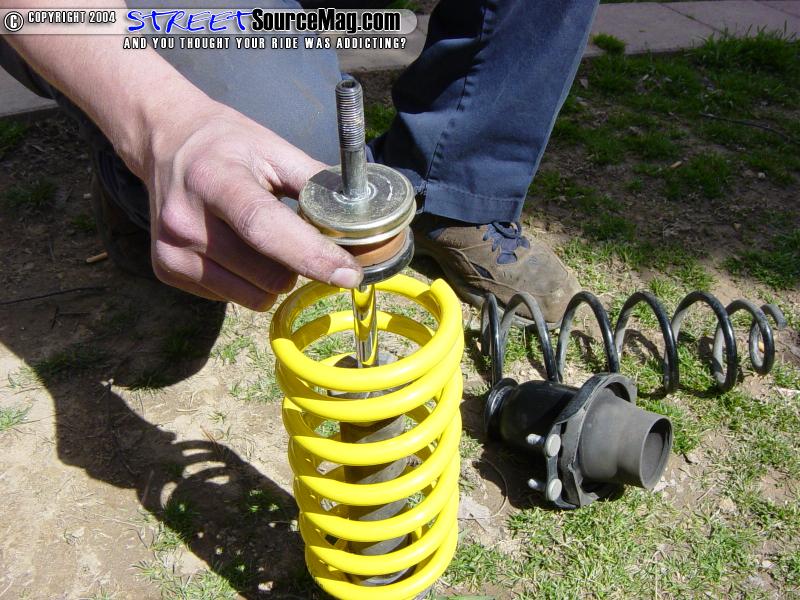
This is also the part that can be VERY dangerous if your not careful. Car springs have a HUGE amount of pressure behind them. For this next part there were 3 people involved to make sure no one got hurt. I can’t stress enough how much caution needs to be used in the next step!! You need to lay the shock/spring on the ground and stand on the spring itself. We also had someone stand on the top shock mount while the third person used the air ratchet to remove the top center bolt. 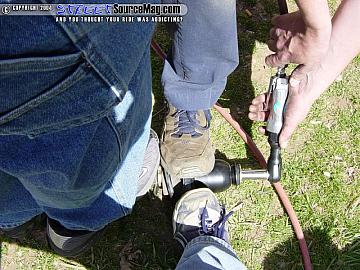 Once the nut is removed, ALL the pressure on the spring will force the top mount off. This is why a person standing on the spring helps; it keeps the spring itself from flying across the yard, driveway, etc and hitting something or someone. Remember, this is the “lack of expensive tools” method of doing this. If you have access to a spring compressor, it makes it much easier, but I’m using this tech article to show the average Joe that it can be done by your self. Now you can remove the stock spring and reinstall the new lowered one. Reinstall the top mount and all the pieces you removed and the shock is ready to be reinstalled in the reverse order you removed it. Once the nut is removed, ALL the pressure on the spring will force the top mount off. This is why a person standing on the spring helps; it keeps the spring itself from flying across the yard, driveway, etc and hitting something or someone. Remember, this is the “lack of expensive tools” method of doing this. If you have access to a spring compressor, it makes it much easier, but I’m using this tech article to show the average Joe that it can be done by your self. Now you can remove the stock spring and reinstall the new lowered one. Reinstall the top mount and all the pieces you removed and the shock is ready to be reinstalled in the reverse order you removed it.
|