The wheelbase and side to side measurement, along with a check of the pinion angle should be written down for later use. To get a wheelbase measuerment, you need to find a point on both sides of the truck to measure off of. You can use things like body mounts or alignment holes for this. To check the rearend for centering between the framerails, the drum backing plate or the axle housing flange can be used. Once you are satisfied that you have all the correct lengths, you can go ahead with the removal of the stuff that won't be used with the 4-link. 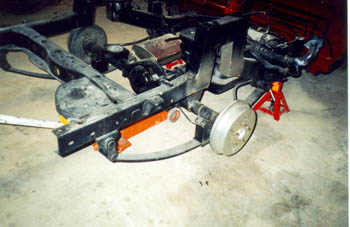  
|
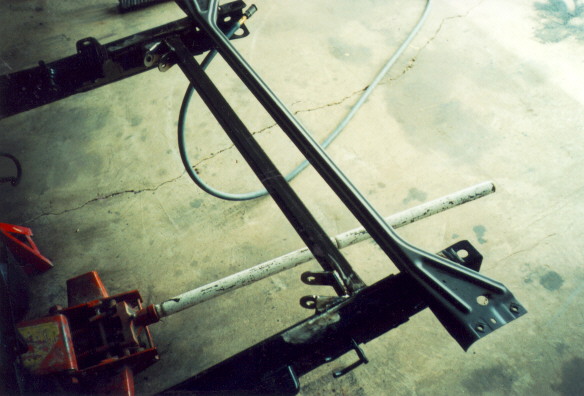
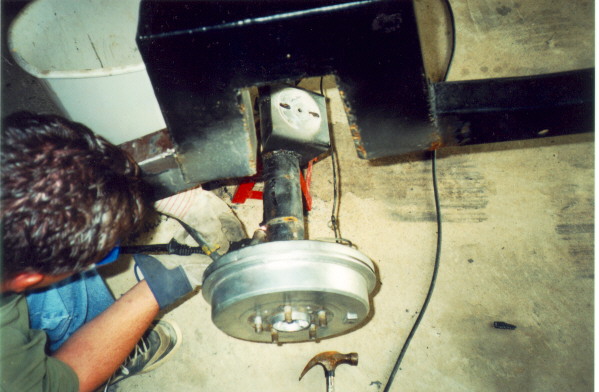
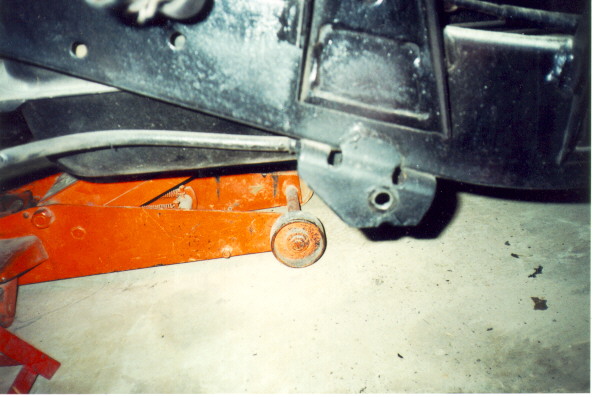
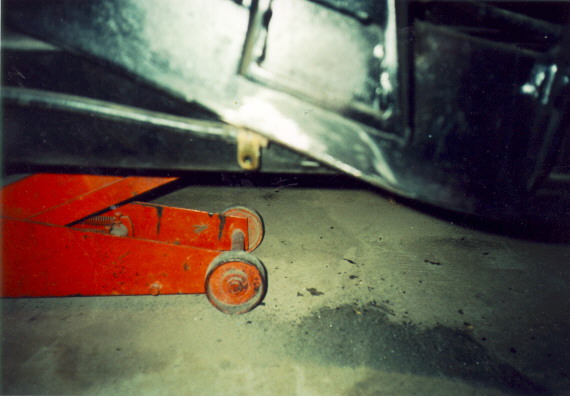
  Next, go ahead and remove the leafs, shocks and bags. Anything else should also be tossed now. Go ahead and cut off the leaf spring hangers and the rearend saddles With everything removed, put the rearend up on stands at the desired ride height. We like to set them up at half the travel of the bags. The 255c's on this previously bagged truck collapse to 3" and extend to about 8" fully inflated. With a difference of 5", you should adjust the distance between the bag brackets to 5.5". 5" of bag travel, divided by 2 gives you 2.5", which is added to the collapsed height (3") of the bag. By doing this, you can equal out the amount of pinion angle change from up to down. On a standard 4-link install, the pinion angle stays pretty constant, but on this particular truck, the owner did not want to relocate the gas tank. For this application, we will run the top triangulated bars toward the rear. To do this, you need to remove the stock rear crossmember and fabricate a new one. A piece of 1.5" x 1.5" - 11 gauge square steel tubing was used. Before removing the stock crossmember, a temporary support should be used to keep everything lined up. With everything removed and cleaned up, the mounting of the 4-link can begin. Next, go ahead and remove the leafs, shocks and bags. Anything else should also be tossed now. Go ahead and cut off the leaf spring hangers and the rearend saddles With everything removed, put the rearend up on stands at the desired ride height. We like to set them up at half the travel of the bags. The 255c's on this previously bagged truck collapse to 3" and extend to about 8" fully inflated. With a difference of 5", you should adjust the distance between the bag brackets to 5.5". 5" of bag travel, divided by 2 gives you 2.5", which is added to the collapsed height (3") of the bag. By doing this, you can equal out the amount of pinion angle change from up to down. On a standard 4-link install, the pinion angle stays pretty constant, but on this particular truck, the owner did not want to relocate the gas tank. For this application, we will run the top triangulated bars toward the rear. To do this, you need to remove the stock rear crossmember and fabricate a new one. A piece of 1.5" x 1.5" - 11 gauge square steel tubing was used. Before removing the stock crossmember, a temporary support should be used to keep everything lined up. With everything removed and cleaned up, the mounting of the 4-link can begin.
|