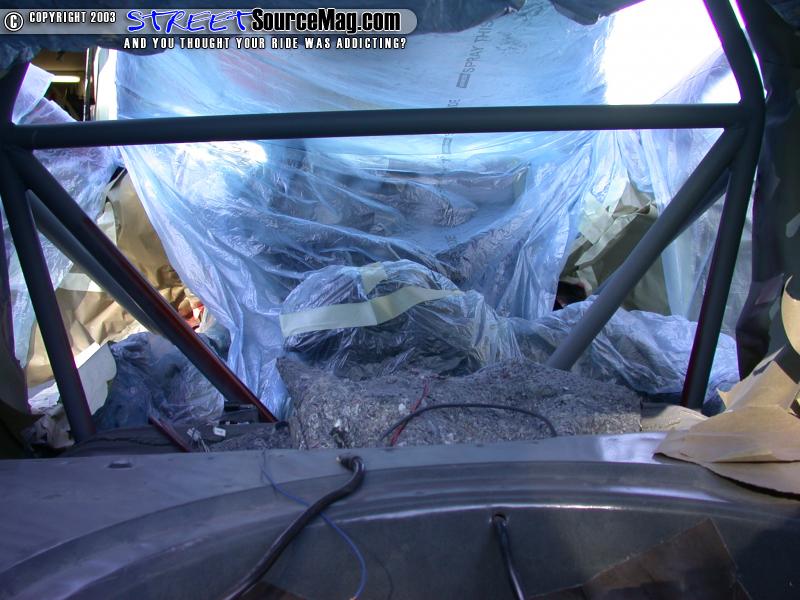
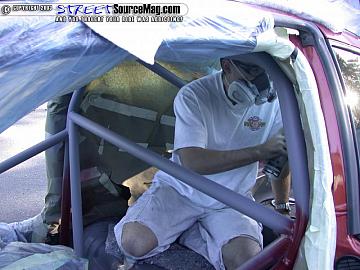
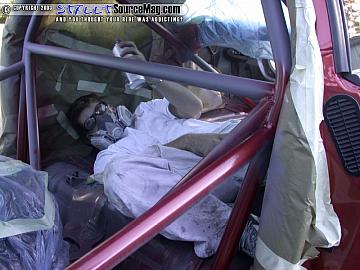
Using the scuff pads, scuff up the bare metal and be sure to remove any surface rust on the bars. Then spray several light coats of self-etching primer over the entire surface of the cage, lightly sanding between coats.  After you have the primer applied you may find it necessary to fill on some areas with filler primer (a primer designed to fill in minor scratches and blemishes). We had a fairly smooth surface so we did not need to use filler primer. After you have the primer applied you may find it necessary to fill on some areas with filler primer (a primer designed to fill in minor scratches and blemishes). We had a fairly smooth surface so we did not need to use filler primer. Next we spray a very thin coat of our color-matched paint. The first coat is only a fine mist that ensures the paint adheres to the surface. Use several coats. It is far better to use several thin coats then fewer heavier coats. Each coat should be slightly heavier then the one before. Make sure to leave time in between coats (your paint supplier will be able to tell you how much time to wait between coats). Next we spray a very thin coat of our color-matched paint. The first coat is only a fine mist that ensures the paint adheres to the surface. Use several coats. It is far better to use several thin coats then fewer heavier coats. Each coat should be slightly heavier then the one before. Make sure to leave time in between coats (your paint supplier will be able to tell you how much time to wait between coats).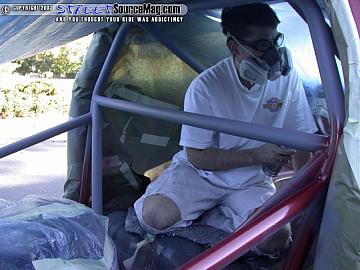
|
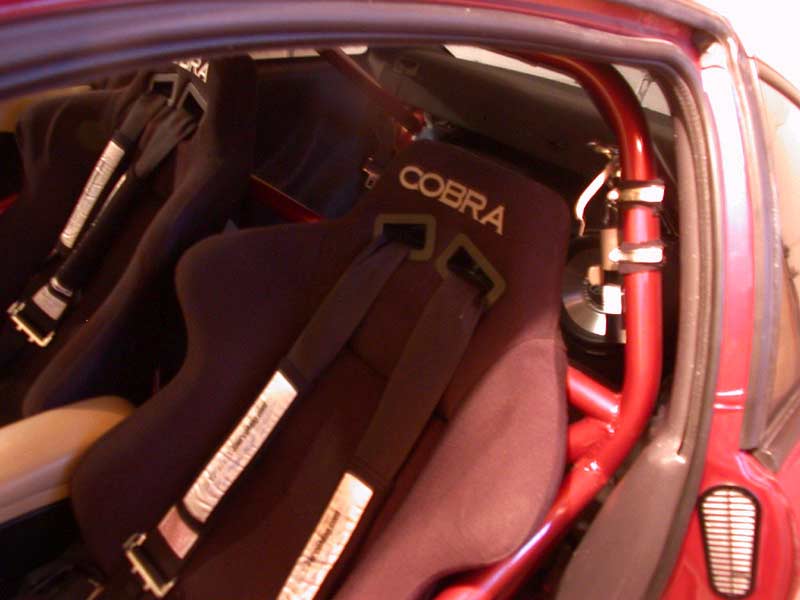
  After the paint looks how you like do not remove the masking material. Wait for the paint to dry before removing the masking material. We decided to start the car, turn the heat on high, and close the doors. We let it warm up pretty well inside (about a half hour) then shut it off. This helps bring the glossiness out in the paint by making the clear come to the surface. It also speeds the curing process… After the paint looks how you like do not remove the masking material. Wait for the paint to dry before removing the masking material. We decided to start the car, turn the heat on high, and close the doors. We let it warm up pretty well inside (about a half hour) then shut it off. This helps bring the glossiness out in the paint by making the clear come to the surface. It also speeds the curing process… 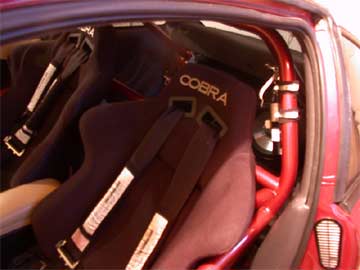 This is a picture of the finished look after we put the interior back together. You may also wish to paint some of the plastic materials inside the car. To do this, substitute the self-etching primer with plastic adhesion promoter. Color matching interior pieces ads a nice "completed" look to the interior of any car. This is a picture of the finished look after we put the interior back together. You may also wish to paint some of the plastic materials inside the car. To do this, substitute the self-etching primer with plastic adhesion promoter. Color matching interior pieces ads a nice "completed" look to the interior of any car.
|